This howto tries to clarify all the steps for setting up a Ubuntu Precise box as Continuous Integration server for PHP projects by using Jenkins. In the next days I’ll write another post about how to configure a PHP project inside Jenkins. So let’s go. ## Installing Jenkins server Ubuntu Precise now has inside its repository the Jenkins server packaged for an easy installation. So installing jenkins now is as simple as running the next command:
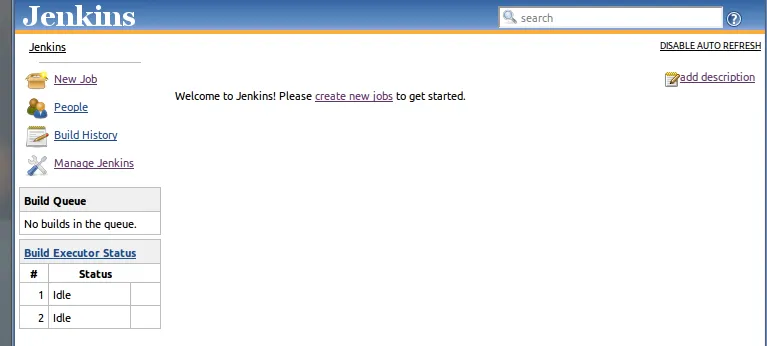
sudo apt-get install jenkinsafter the installation jenkins will be running in the 8080 port. For accessing it you must go to http://localhost:8080

If you want to allow Jenkins to send mails after the builds, for informing of build reports to your team, you have to install a MTA:
sudo apt-get install postfixInstalling required Jenkins Plugins
For building PHP projects you need some Jenkins plugins. These are the needed:
- Checkstyle (for processing PHP_CodeSniffer logfiles in Checkstyle format)
- Clover PHP (for processing PHPUnit code coverage xml output)
- DRY (for processing phpcpd logfiles in PMD-CPD format)
- HTML Publisher (for publishing the PHPUnit code coverage report, for instance)
- JDepend (for processing PHP_Depend logfiles in JDepend format)
- Plot (for processing phploc CSV output)
- PMD (for processing PHPMD logfiles in PMD format)
- Violations (for processing various logfiles)
- xUnit (for processing PHPUnit logfiles in JUnit format)
- Git (for accessing Git repositories, if you use Git in your project)
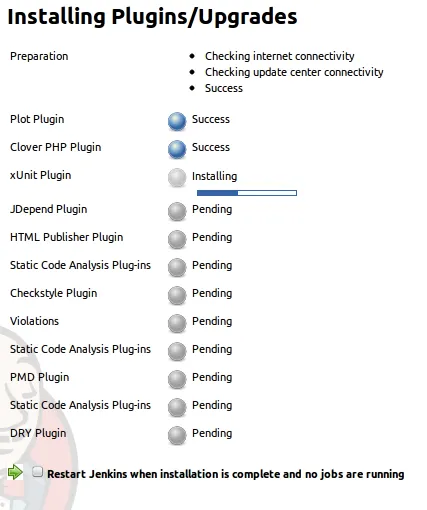
You can install these plugins using the web frontend at http://localhost:8080/pluginManager/available Just check them all and click the «Install» button. You will see the plugin installation progress:

If you can’t find the Jenkins plugin from the Jenkins interface you can install them from command line. Go to http://updates.jenkins-ci.org/download/plugins/ and copy the hpi file URL of your desired plugin and execute the next commands from your jenkins server commandline:
cd /var/lib/jenkins/plugins
sudo wget http://updates.jenkins-ci.org/download/plugins/git/1.1.17/git.hpi
sudo chown -R jenkins:nogroup /var/lib/jenkins/
sudo service jenkins restart
Take a look at the last line, if you want to install additional plugins you have to restart your Jenkins server for making it available. ## Installing the PHP Quality Assurance Toolchain The most common required PHP tools should be installed using the PEAR Installer, the backbone of the PHP Extension and Application Repository that provides a distribution system for PHP packages. Now this point could differ depending in tools you use in your build script. For example if you use Behat you have to install it with PEAR before build the project, and so on. The following commands are all that is required to install the required PHP tools using the PEAR Installer:
sudo apt-get install php-pear php5-mysql php5-memcache php5-imagick php5-curl php-apc php5-sqlite php5-xsl php5-xdebug

sudo pear config-set auto_discover 1
sudo pear install pear.phpqatools.org/phpqatools pear.netpirates.net/phpDox
sudo pear install theseer/Autoload
sudo pear install channel://pear.netpirates.net/phpdox-0.4.0
sudo pear install pear.phpunit.de/DbUnit
You have to install some other tools required to execute the builds in PHP projects.
sudo apt-get install git-coreAnd that’s all, hope this little howto was useful and helps you to make easy to install and configure Jenkins CI server for building PHP projects.